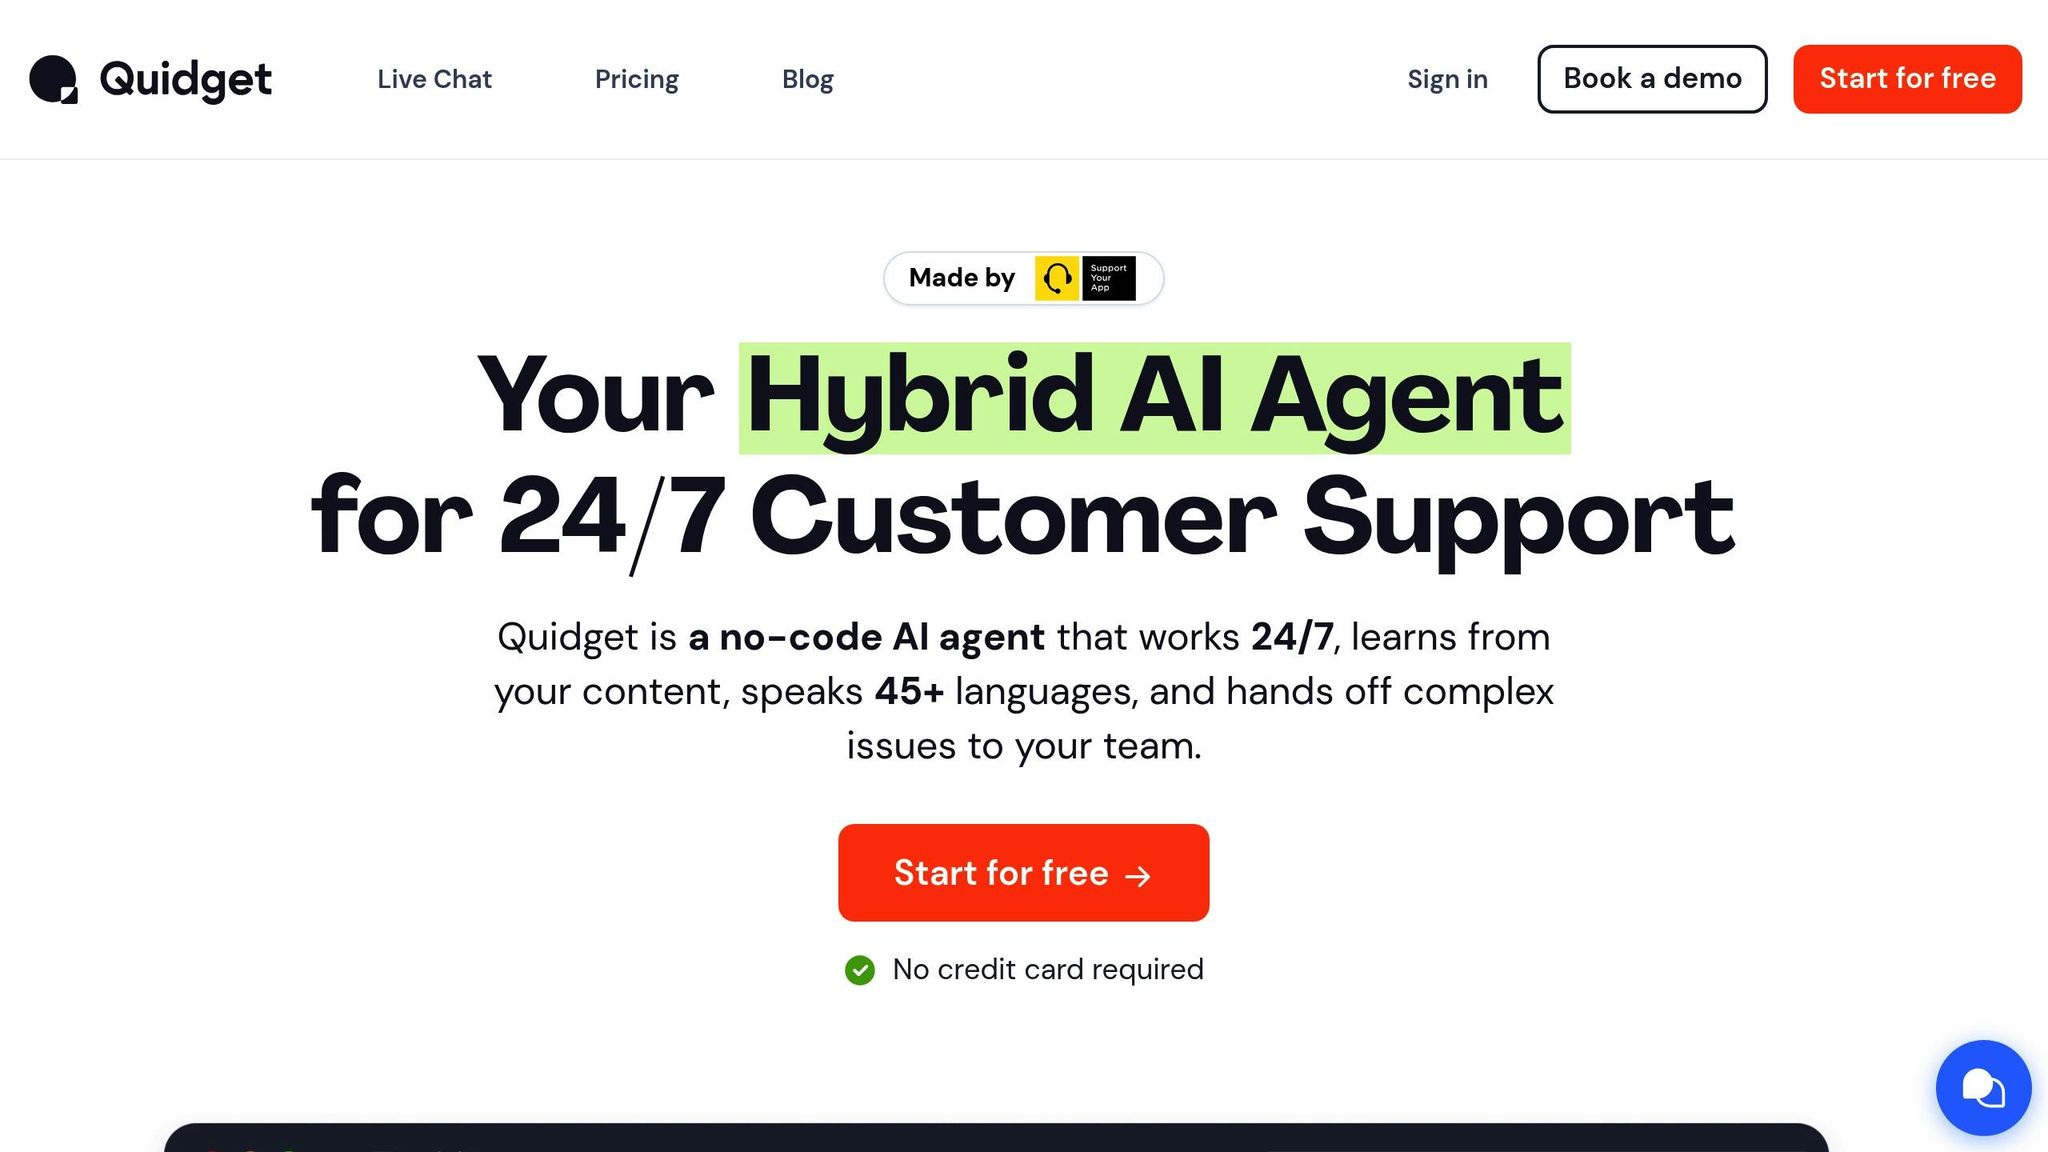
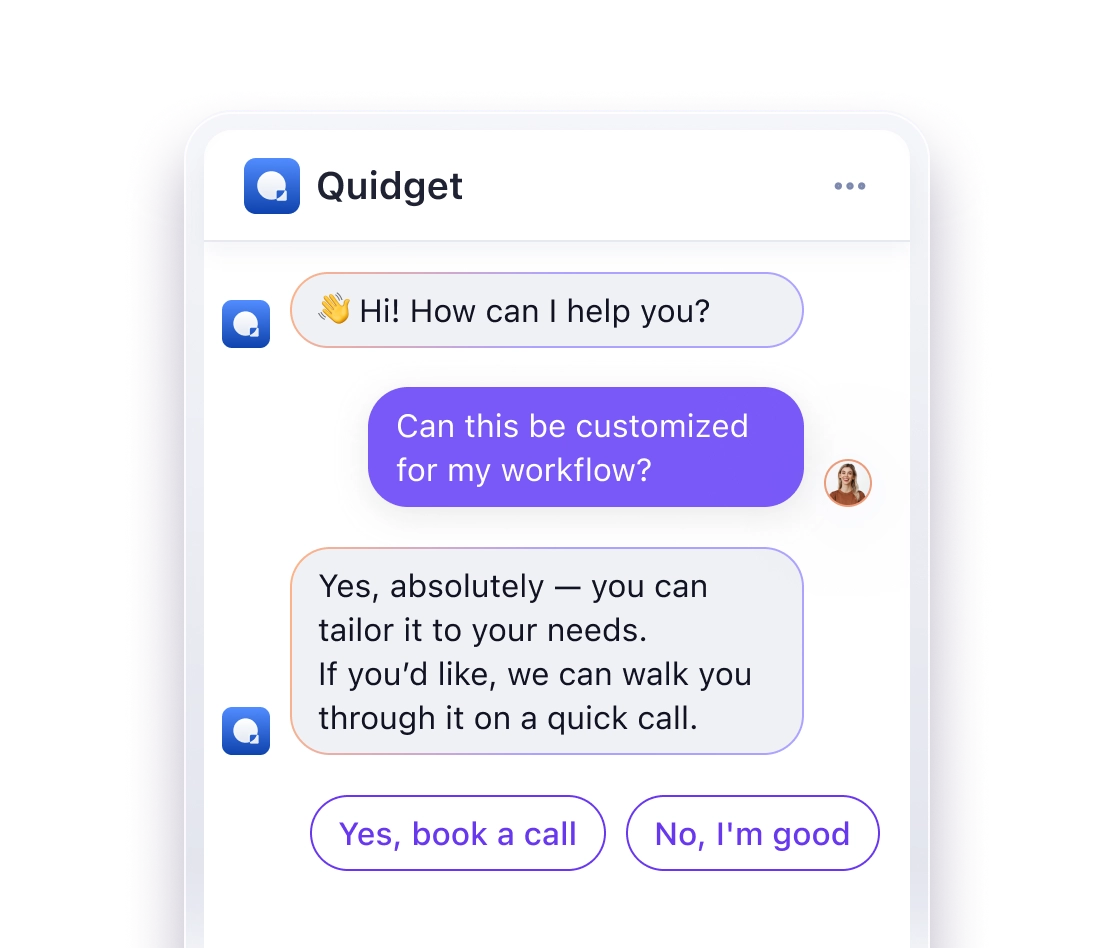
- Choose a Chatbot Platform: Pick a hosted or cloud-based platform like Quidget, which offers no-code tools, multi-language support, and analytics.
- Organize Your Content: Prepare FAQs, product info, and support scripts to ensure your chatbot provides accurate answers.
- Ensure Technical Compatibility: Your website needs HTTPS, CMS access, and mobile compatibility for smooth integration.
- Install the Chatbot: Add chatbot code manually or use plugins for platforms like WordPress or Shopify.
- Test and Improve: Regularly track metrics like accuracy, response time, and user satisfaction to refine your chatbot.
Quick Comparison of Platforms:
| Platform Type | Coding Skills Needed | Maintenance | Cost | Scalability |
|---|---|---|---|---|
| Hosted Platforms | Advanced | Manual | High upfront | Manual scaling |
| Cloud Platforms | Minimal | Automatic | Monthly fees | Automatic scaling |
Follow these steps to save time, cut costs, and improve user engagement with a chatbot on your website.
How To Build an AI Chatbot For Your Website – Step-by-Step Tutorial
Step 1: Pick Your Chatbot Platform
Your choice of chatbot platform directly influences how complex the setup will be and the results you can expect over time.
Hosted vs. Cloud Platforms: What’s the Difference?
When choosing between hosted and cloud platforms, it’s important to understand how they differ in terms of setup, costs, and maintenance. Cloud platforms often come with lower upfront costs and quicker setup, which can help achieve cost savings like the 30% reduction mentioned earlier.
| Feature | Hosted Platforms | Cloud Platforms |
|---|---|---|
| Development | Requires advanced coding | Minimal technical skills |
| Maintenance | Managed by you | Automatic updates |
| Cost | Higher upfront costs | Monthly subscription fees |
| Customization | Full control over design | Limited to pre-built tools |
| Scalability | Manual scaling required | Automatic scaling |
Key Features to Look For
When selecting a chatbot platform, focus on features that make integration with your website simple and effective. Here’s what to prioritize:
| Feature Category | Key Requirements |
|---|---|
| Basic Functions | Multi-language support |
| Integration | CRM and help desk compatibility |
| Analytics | Conversation tracking, reporting |
| Security | Data encryption, GDPR compliance |
| Support | Human handoff, knowledge base |
Why Consider Quidget?

Quidget is a platform built for ease of use and scalability, offering tools that help businesses get up and running quickly. Here’s what it provides:
- AI-driven conversations in over 45 languages
- No-code builder for creating chatbots without technical skills
- Pre-built templates for common business needs
- Analytics dashboard to monitor performance
- Multi-channel deployment for websites and messaging apps
Quidget’s Starter plan, priced at $16/month, includes multi-language support and human handoff options. The drag-and-drop builder lets you design chatbots effortlessly, while API access is available for those who need advanced customization. These features align with the cost savings and engagement benefits highlighted in industry data.
Step 2: Plan Your Chatbot Setup
Setting up a chatbot for your website requires careful planning. This step ensures a smooth integration process and helps you avoid common mistakes. It builds on the platform choice you made in Step 1.
Organize Your Content
The foundation of an effective chatbot is well-organized content. Start by creating a detailed knowledge base that the chatbot can use to answer user queries.
| Content Type | Description | Priority Level |
|---|---|---|
| FAQs | Answers to common questions | High |
| Product Info | Details on features, pricing, and availability | High |
| Support Scripts | Standard responses to common issues | Medium |
| Company Policies | Information on returns, shipping, and privacy policies | Medium |
| Department Contacts | Contact details and hours | Low |
Review customer service logs to identify recurring questions and organize them into categories. This will make importing content into your chatbot platform easier and ensure consistent, accurate responses.
Technical Requirements for Your Website
To successfully integrate a chatbot, your website must meet certain technical standards:
- HTTPS encryption: Protects user data and ensures secure communication.
- CMS backend access: Allows you to manage and update chatbot content.
- Mobile compatibility: Ensures the chatbot works seamlessly across all devices.
If your website is custom-coded, you’ll also need the ability to edit HTML.
Privacy Compliance
Adhering to privacy laws is not optional – it’s mandatory. Your chatbot must comply with key regulations to protect user data.
| Regulation | Key Requirements | Applies To |
|---|---|---|
| GDPR | Explicit consent, data access rights | EU users |
| CCPA | Data disclosure, opt-out options | California residents |
| COPPA | Parental consent for users under 13 | Users under 13 |
Here’s what you need to do:
- Obtain Clear Consent: Display visible privacy notices before collecting user data.
- Provide Data Access: Allow users to request access to or deletion of their data.
- Ensure Security: Use encryption to protect data during transmission and storage.
- Keep Records: Document all privacy compliance measures for accountability.
Proper planning in these areas will set the stage for a chatbot that’s both functional and compliant.
sbb-itb-58cc2bf
Step 3: Add the Chatbot to Your Site
Now that you’ve planned your setup, it’s time to integrate the chatbot into your website. How you do this depends on your platform and technical skills. If you’re using a hosted solution, you might need to manually add code, but cloud platforms like Quidget make integration much easier.
Manual Code Installation
If your website allows direct HTML access, you can follow these steps to install your chatbot:
1. Access Your Site’s Backend or CMS
Find the main template file where you’d like the chatbot to appear.
2. Insert the Code
Copy the JavaScript code for your chatbot and paste it just before the closing </body> tag:
<script> window.quidgetConfig = { apiKey: 'YOUR_API_KEY', position: 'bottom-right' }; </script> <script src="https://cdn.quidget.ai/widget.js" async></script> Platform-Specific Installation
Many popular website platforms offer easier ways to add chatbots. Here’s an overview:
| Platform | Installation Method | Difficulty |
|---|---|---|
| WordPress | Plugin installation | Easy |
| Shopify | App marketplace | Easy |
| Wix | App market integration | Easy |
| Custom CMS | Manual code insertion | Moderate |
For WordPress users:
- Navigate to Plugins → Add New
- Search for your chatbot’s plugin
- Click "Install Now", then "Activate"
- Enter your API key in the plugin settings
Verify Your Installation
Before launching, ensure your chatbot is functioning correctly. Test the following areas:
| Test Area | Things to Check |
|---|---|
| Desktop Browsers | Compatibility with Chrome, Firefox, Safari, and Edge |
| Mobile Devices | Proper display and functionality on iOS and Android |
| Chat Functions | Response speed and accuracy |
| Load Speed | How quickly the widget appears |
| Data Security | Compliance with GDPR/CCPA standards |
Pro Tip: Test your chatbot during low-traffic periods to avoid interrupting regular site usage. Mobile responsiveness is key – most modern chatbots adjust automatically to smaller screens.
If you run into problems:
- Add the
asyncattribute to your script tags to improve loading speed. - Clear your browser cache or test in incognito mode to rule out conflicts caused by extensions.
Step 4: Improve Your Chatbot
Now that your chatbot is live, it’s time to focus on making it better. Regular monitoring and updates are key to handling user queries more effectively and improving resolution rates.
Track Chatbot Results
Keep an eye on the same metrics you identified in your initial Business Impact goals:
| Metric | Why It Matters |
|---|---|
| Accuracy Rate | Measures how well your chatbot understands user queries |
| Completion Rate | Tracks how often issues are resolved without human intervention |
| Response Time | Impacts user satisfaction and engagement levels |
| User Satisfaction | Shows how effective your chatbot is overall |
Pro Tip: Schedule weekly performance reviews to quickly identify trends and areas for improvement.
Update Your Chatbot
Here are practical strategies to keep your chatbot up-to-date:
- Weekly Quick Checks: Go through chat logs to spot recurring issues. Update responses for common problems, and focus on resolving frustrations or reducing abandoned chats.
- Monthly Content Reviews: Regularly audit your chatbot’s knowledge base. Make sure to:
- Include new product details
- Update pricing information
- Adjust seasonal content
- Remove outdated or irrelevant data
- Quarterly Flow Optimization: Study conversation patterns to make interactions smoother. This could involve shortening resolution paths, adding new conversation options, or removing unnecessary steps.
Leverage Quidget’s Data Tools
Quidget offers several analytics tools to help fine-tune your chatbot:
| Tool | Purpose |
|---|---|
| Conversation Analytics | Understand chat flow and identify bottlenecks |
| Sentiment Analysis | Measure user satisfaction and emotional responses |
| Performance Dashboard | Monitor key metrics in one place |
| Custom Reports | Focus on specific business objectives |
Quidget also features a web crawler that automatically updates your chatbot’s knowledge base when your website changes. This ensures your chatbot stays current without requiring constant manual adjustments.
Important: Pay close attention to fallback responses. These indicate areas where the chatbot couldn’t provide an answer and need immediate attention.
"68% of consumers like chatbots because they provide quick answers."
Conclusion: Launch Your Chatbot
After fine-tuning your chatbot’s performance through regular analysis (Step 4), it’s time to roll it out fully.
Key Takeaways
Deploying a chatbot effectively involves four clear stages:
- Choose a platform that fits your technical needs.
- Build a content structure that meets compliance requirements.
- Carry out a seamless technical integration.
- Continuously improve through regular updates and testing.
The foundation of a successful chatbot is setting clear, achievable goals from the start.
Moving Forward with Quidget
Start by testing essential features using the Starter plan. Focus on training your chatbot with information specific to your company and use chat history insights to make ongoing improvements.
FAQs
How do I embed ChatGPT into my website?

To embed ChatGPT into your website, follow these steps:
- Get an API Key: Obtain an API key from OpenAI‘s developer portal.
- Set Up API Communication: Build a secure interface to handle communications with the API.
- Create a Chat Interface: Design a user-friendly chat interface that matches your website’s look and feel.
If coding isn’t your thing, many businesses opt for pre-built platforms, which simplify the process. For no-code options, explore platform-specific installation methods during the chat interface setup.
How to integrate a chatbot on a website?
The integration process involves three main steps:
- Pick a Platform: Choose a platform that fits your technical skills and budget. For example, cloud-based tools like Quidget can make the setup process quicker and easier.
- Plan the Integration: Before starting, review the platform’s integration guide carefully to ensure a smooth process.
- Implement the Chatbot: Use the platform’s guide to complete the setup. If you’re using a coding-based solution, refer to the documentation for detailed code examples.


