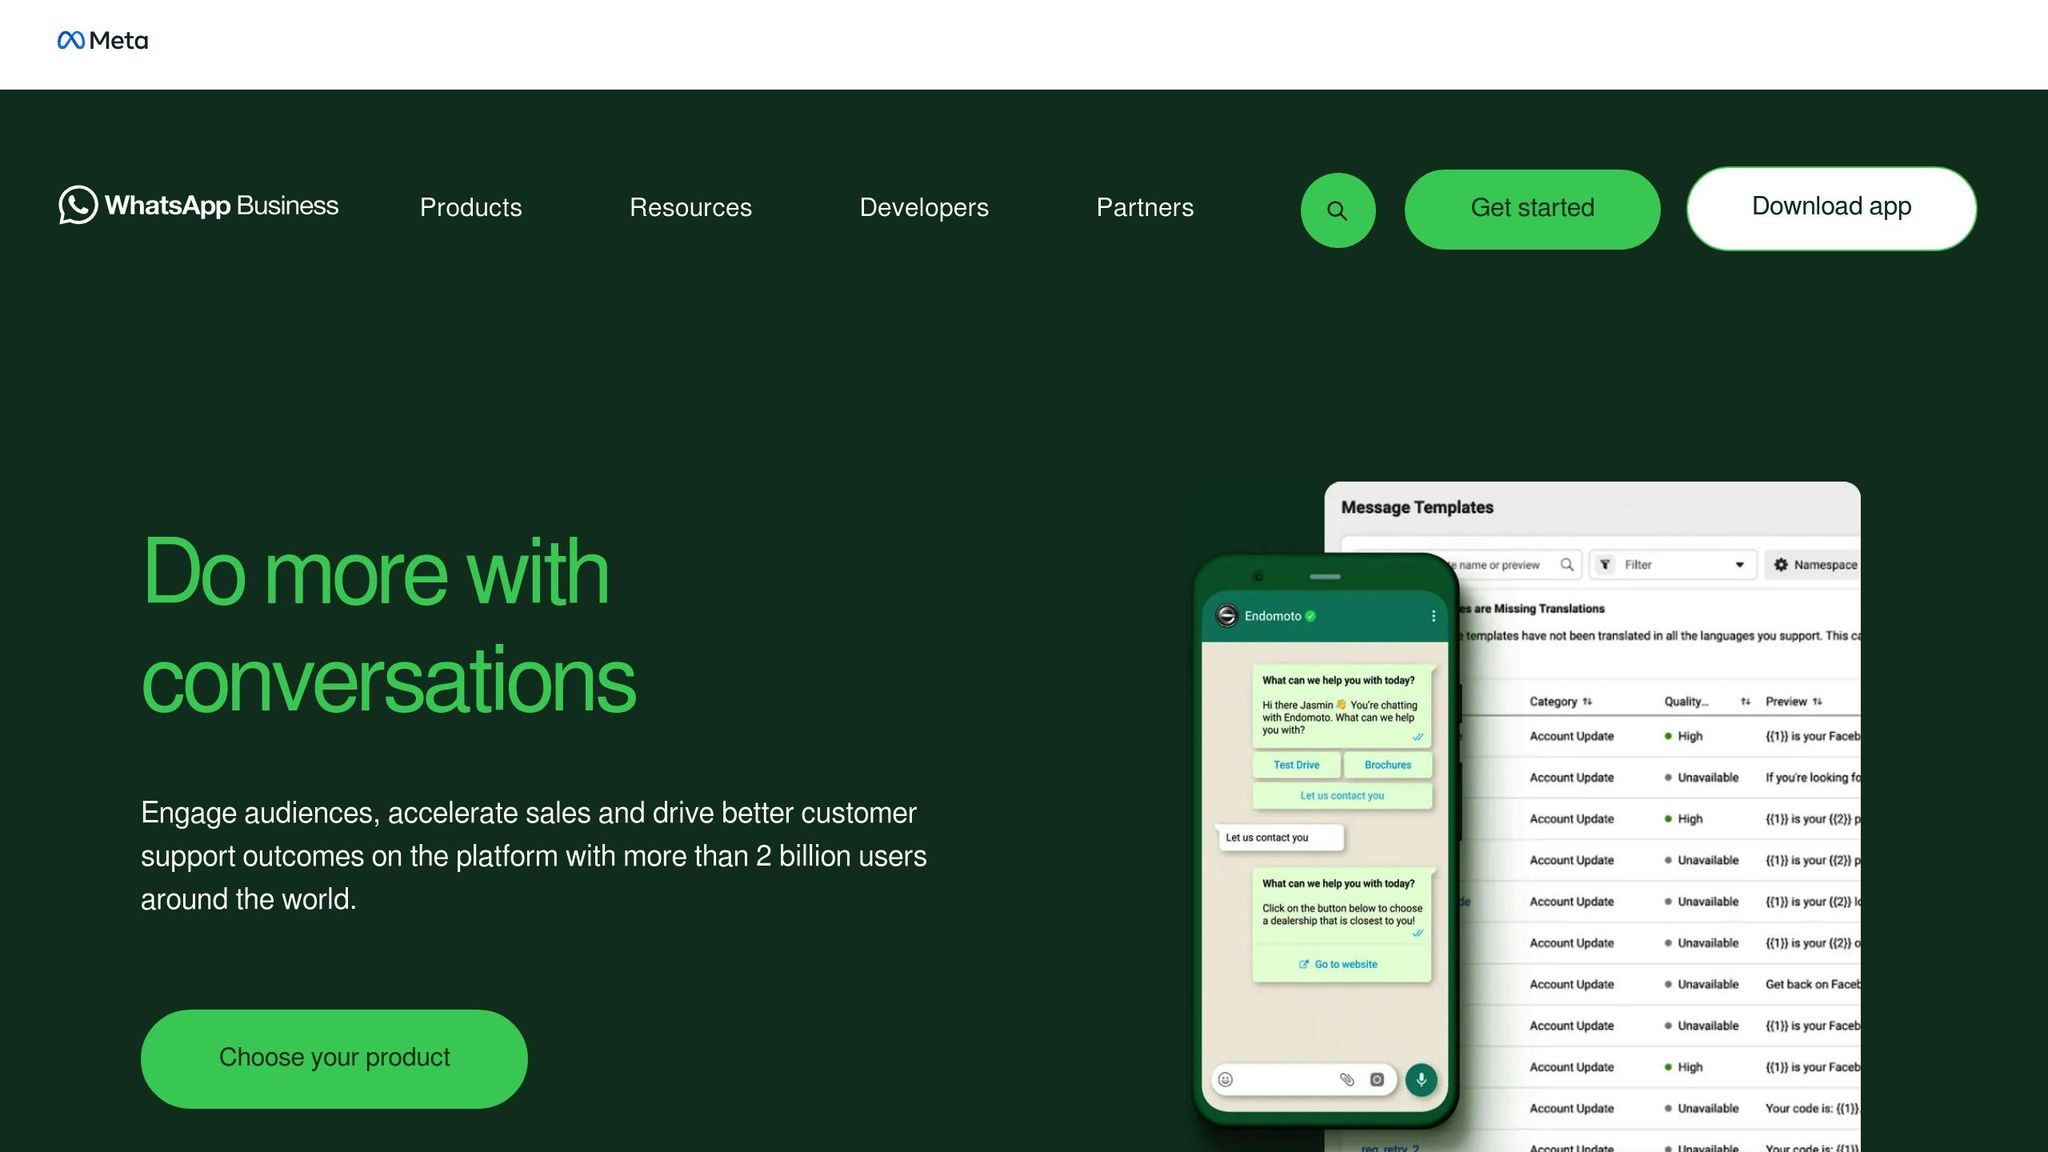
WhatsApp AI chatbots can help businesses handle customer interactions efficiently, offering instant replies, automating tasks like order tracking, scheduling, and FAQs, and reducing support workload. You don’t need technical skills to set one up – no-code platforms like Voiceflow or Engati make it simple. Here’s a quick overview:
- Benefits: 24/7 support, faster responses, reduced costs, and personalized interactions.
- Setup Steps:
- Create a WhatsApp Business account and verify it.
- Choose an API provider like 360dialog or Twilio.
- Plan conversation flows and design response templates.
- Train the chatbot with FAQs and scripts.
- Test and connect it to WhatsApp via your API provider.
- Tools: Platforms like Quidget and ManyChat help streamline the process.
Start small by automating common tasks like order updates or appointment scheduling, then expand based on customer feedback. Tracking performance and regular updates ensure your chatbot remains effective.
Benefits of WhatsApp AI Chatbots
Main Advantages
WhatsApp AI chatbots provide round-the-clock automated support, ensuring consistent service while managing large volumes of interactions smoothly.
Here’s how they can make a difference:
| Feature | Impact on Business |
|---|---|
| Instant Replies | Ensures fast responses, keeping customers engaged and satisfied |
| Reduced Workload | Automates repetitive tasks, freeing up staff for more complex issues |
| Tailored Responses | Adjusts messages based on previous interactions for a more personal touch |
| Cost-Effective | Handles multiple conversations at once, minimizing operational costs |
These chatbots adapt to past interactions, offering a personalized experience without the need to expand your team.
Problems AI Chatbots Solve
Despite their advantages, WhatsApp communications often face challenges like delayed replies or overlooked messages, which can frustrate customers.
Chatbots step in to fill these gaps, especially during off-hours, ensuring uninterrupted support. They’re ideal for tasks such as:
- Handling order updates
- Responding to product inquiries
- Sending automated booking confirmations
WhatsApp AI Bot Tutorial: Automate Your Business Using Make.com
Step 1: WhatsApp Business Setup

Getting started with WhatsApp Business requires careful preparation and attention to detail.
Set Up Your Business Account
First, download the WhatsApp Business app and follow these steps:
- Register Your Phone Number: Use a dedicated phone number that hasn’t been associated with WhatsApp before.
- Complete Your Profile: Add essential details like your business name, logo, description, and address.
- Prepare Verification Documents: Have documents like a business license or utility bill ready for the verification process.
Verification can take anywhere from a few minutes to several days, depending on how complete your documentation is. Once approved, you’ll gain access to tools that help automate customer interactions.
Understanding WhatsApp API
The WhatsApp Business API is designed for businesses that need advanced automation. Unlike the standard WhatsApp Business app, the API offers features like:
- Pre-approved response templates for quick replies
- Real-time webhooks for event notifications
- A 24-hour window for initiating chats with customers
- Support for text, media, and interactive messages
These features make it easier to manage large-scale customer interactions efficiently.
Choose an API Provider
To use the API, you’ll need to work with a provider. Popular options include 360dialog, Twilio, and Vonage. When deciding, consider factors such as:
- Monthly message volumes
- Quality of technical support
- Ease of integration with your existing systems
- Pricing and compliance with local data protection laws
Selecting the right provider ensures smooth implementation and ongoing support for your WhatsApp Business API.
Step 2: Create Your Chatbot
Plan Conversation Flows
Start by mapping out common customer inquiries. Think about frequent questions and organize them into clear, logical paths. Common flows might include:
- Product details
- Order tracking
- Returns and refunds
- Shipping questions
For each path, outline clear starting points, decision-making steps, and endpoints. Once you have these flows mapped, craft message templates that align with each scenario.
Create Response Templates
After planning your flows, design message templates for consistent and professional communication. Here are some examples of template types and their purposes:
| Template Type | Purpose | Example Usage |
|---|---|---|
| Welcome Messages | Greet customers | First-time interactions |
| Quick Replies | Answer common questions | Checking product stock |
| Follow-up Messages | Continue conversations | Sending order confirmations |
| Error Handling | Clarify unclear customer inputs | Requesting more details |
When building these templates on platforms like ManyChat or Chatbase, prioritize natural language that reflects your brand’s tone while keeping it professional.
Train Your Chatbot
1. Import Existing Knowledge
Start by uploading your FAQs, product descriptions, and customer support scripts to platforms like Chatbase. This gives your chatbot a solid base to work from.
2. Set Up Learning Tools
Equip your chatbot with tools to improve over time by:
- Tracking which paths successfully resolve issues
- Recognizing common customer phrases
- Flagging cases where human help was required
3. Keep It Updated
Ensure your chatbot stays relevant by:
- Adding new product or service details
- Adjusting for pricing changes
- Highlighting seasonal deals or promotions
- Fine-tuning responses based on customer feedback
sbb-itb-58cc2bf
Step 3: Connect to WhatsApp
Link Your Chatbot
Log in to your API provider’s dashboard (like 360Dialog or Twilio) and locate your API credentials. You’ll need your WhatsApp Business number, API key, and webhook URL.
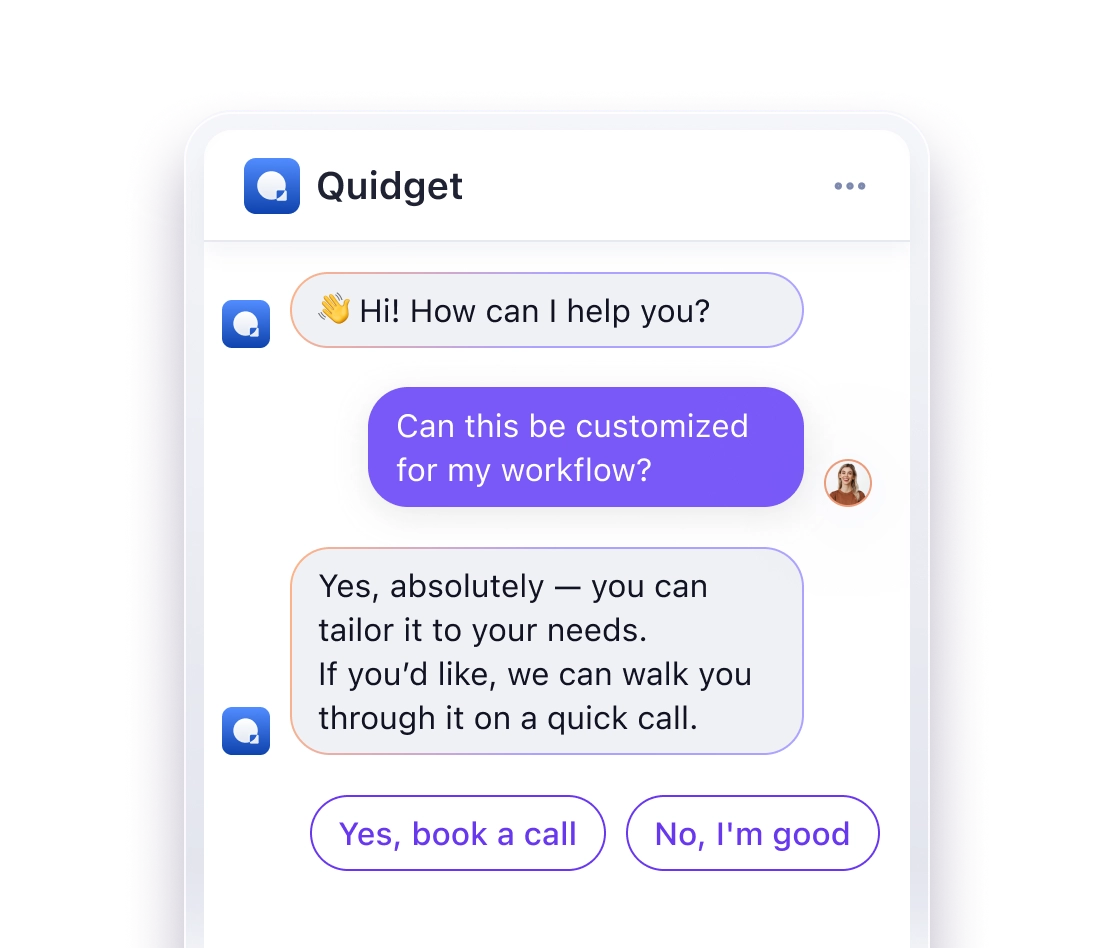
If you’re using Quidget, go to the Channels section and choose WhatsApp integration. Enter the API credentials and webhook URL into the specified fields.
Don’t forget to create and submit the necessary message templates following your API provider’s rules.
Run Test Messages
Once your chatbot is connected, it’s time to ensure everything works as expected.
- Initial Testing
Use the sandbox environment provided by your platform to send test messages. Many platforms offer built-in testing features, such as:- BotPenguin‘s Test Chat
- Engati’s Preview Mode
- ManyChat’s Test Bot
- Scenario Testing
Prepare a test matrix to evaluate common interactions. For instance:
Test Case Expected Outcome Common Issues Welcome Flow Immediate greeting with menu options Delayed responses Product Queries Accurate product information Incomplete data Order Status Correct order details API connection errors Error Handling Smooth fallback to human support if needed Unclear error messages - Performance Verification
Track key metrics like response time, delivery success rate, and message accuracy. If you notice any problems, double-check your API credentials and webhook configuration.
Maintain and Improve Your Chatbot
Track Results
Keep an eye on your chatbot’s performance through your analytics dashboard. Focus on these key areas:
- Response Accuracy: Check how well your chatbot handles user queries by tracking correctly answered questions and identifying common misunderstandings.
- Customer Engagement: Review metrics like average conversation length, number of messages per interaction, peak usage times, and frequently asked questions.
- Technical Performance: Monitor delivery success rates and response times. If responses are delayed or fail to send, inspect your API connection and webhook setup.
Adjust and Grow
Keep your chatbot up-to-date. Start by updating its knowledge base with details about new products, services, or policy changes. If you’re using Quidget, its web crawler can help by automatically syncing your chatbot with fresh website content.
Next, refine conversation flows. Analyze chat logs to spot where users get stuck or leave the conversation. For example, if users frequently ask about order tracking, consider adding an option to provide tracking details proactively. Make sure to address any issues that arise during this process.
Fix Problems
Quickly tackling issues is key to maintaining trust. Add training examples for recurring misunderstandings, check API limits if responses are slow, and review routing rules if handoffs to human agents fail.
Set up a feedback loop by analyzing customer satisfaction ratings, reading user comments, and reviewing transcripts where users requested human support. Before rolling out new conversation flows widely, test them on a smaller scale to ensure they work smoothly.
Next Steps
Your chatbot is ready for launch – now it’s time to get it up and running while fine-tuning its performance.
Here’s how to move forward:
First, register with a WhatsApp Business API provider like Quidget, which integrates seamlessly with its AI agent builder. Quidget’s Starter plan costs $16/month and includes 500 AI responses, human handoff features, and multi-language support.
Identify 2-3 key tasks to automate right away, such as:
- Order tracking and updates
- Appointment scheduling
- Answering basic product questions
- Responding to customer support FAQs
These priorities will guide your chatbot’s initial setup and training.
Next, build a knowledge base. Use Quidget’s web crawler to pull content from your website, starting with common customer inquiries. Over time, you can expand the bot’s range.
Here’s a suggested timeline to help you organize your implementation:
| Phase | Timeline | Key Actions |
|---|---|---|
| Initial Setup | Week 1 | Set up WhatsApp Business account, pick API provider |
| Basic Training | Week 2 | Import FAQs, create response templates |
| Testing | Week 3 | Conduct test runs, refine chatbot responses |
| Launch | Week 4 | Roll out to a small group of customers |
For added efficiency, use Zapier to connect your chatbot with other tools like CRMs or order confirmation systems.
Quidget also offers pre-built AI templates for customer support and lead generation. These templates can serve as a starting point, which you can adjust to fit your needs.
Start small: focus on a core set of features, test with a limited audience, and expand based on real-world feedback.
Finally, consider booking a demo with Quidget to explore how their AI agents can work with your WhatsApp account and customer service systems.
FAQs
Here are answers to some common questions about creating and integrating a WhatsApp chatbot.
How do I use the WhatsApp Business API to set up a chatbot?
You can set up your chatbot using the WhatsApp Business API in three simple steps:
- Apply for API Access
Sign up for a WhatsApp Business account and apply for API access through an official provider like 360Dialog. - Configure the API
Once approved, use the provided API credentials to connect your chatbot. Link these credentials to your chosen chatbot platform. - Test and Deploy
Run test messages in a sandbox environment before going live. Ensure automated messages follow WhatsApp’s messaging rules and use approved templates.
How do I create a chatbot for WhatsApp?
Follow these four phases to build your WhatsApp chatbot:
| Phase | Action | Key Focus |
|---|---|---|
| Planning | Design conversation flows | Prioritize core functions |
| Setup | Choose a chatbot platform | Use platforms compatible with WhatsApp |
| Training | Add a knowledge base | Consider web crawlers for content |
| Testing | Test with a small user group | Start with a limited sample size |
For a faster setup, you can explore no-code platforms like BotPenguin or Engati. These tools provide pre-built WhatsApp templates and let you design chatbot flows effortlessly.
Tip: Start by automating responses for your top 5–10 most common customer questions. This approach can help manage up to 80% of incoming queries effectively.


